Preserve your memories for years in a unique form! Designing a photo book with Artibo is the perfect way to create a one-of-a-kind keepsake that will delight both you and your loved ones. With our intuitive editor, you can easily bring your vision to life, customising every detail to make it truly yours. In this guide, we’ll walk you through the step-by-step process of designing your photo book to achieve a stunning result that you’ll cherish for years to come.
1. Choosing and configuring your Photo Book
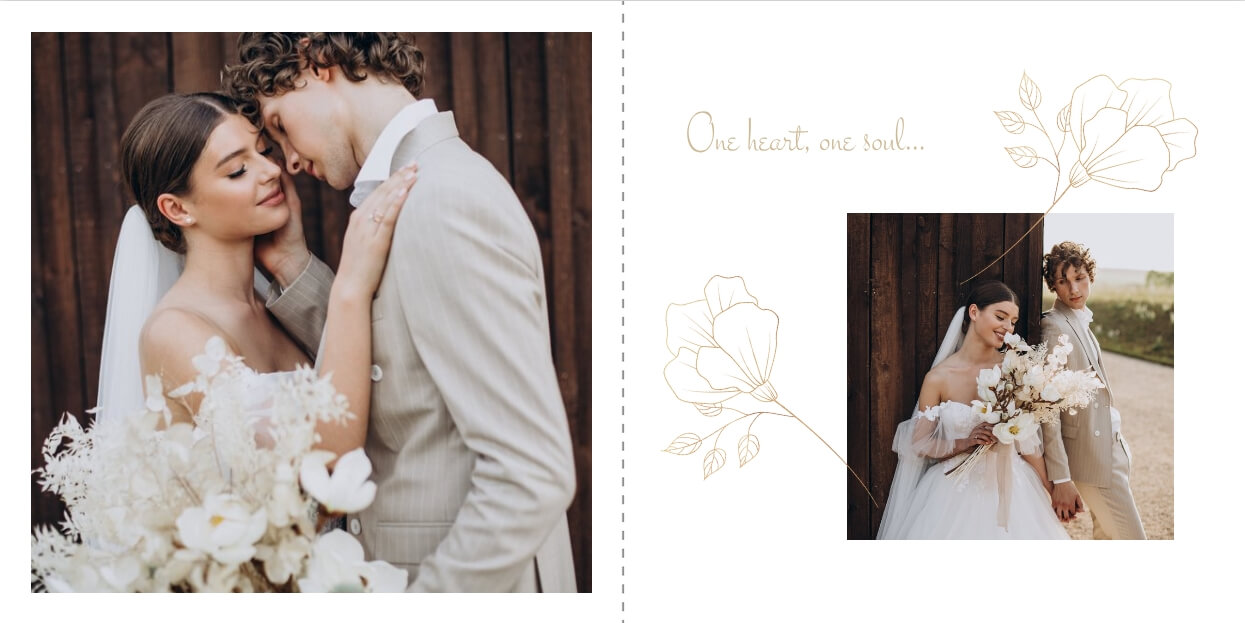
Start by selecting the style and format that best suit your needs.
- Format & Cover - Opt for an elegant fabric cover or a personalised design of your own. Next, choose the book size that best showcases your photos.
- Paper & Finish - Select the type of paper and finish, from classic options to those that enhance depth and vibrancy. If you’ve chosen a fabric cover, pick a colour from our timeless range of premium canvas and soft velvets.
- Book Title - Customise the title to perfectly reflect the theme of your photo book. You can choose a classic two-line title centred on the cover or create a unique design in our editor, where you can position the text exactly as you like.
Once you've completed your configuration, simply add the book to your cart.
Tip! Explore creative cover design ideas and get tips on crafting the perfect title for fabric-covered books in our editor.
2. Accessing the Artibo Editor & choosing a design mode
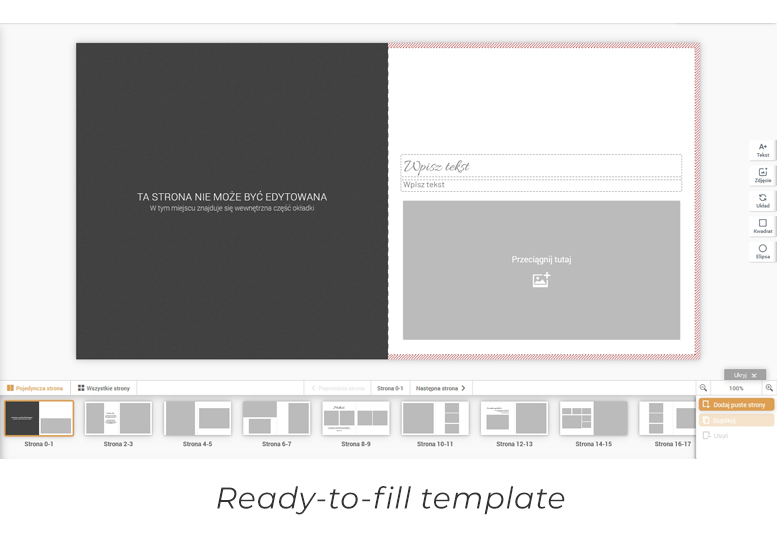
To open the editor, click the "Design Online" button in your cart. A new browser window will launch the Artibo editor, where you can choose between creating a custom design from scratch or using a Artibo templates.
- Custom design from scratch - This option allows you to fully design your photo book on your own or use the SMART feature. SMART automatically arranges your photos after uploading, saving you time and ensuring a well-balanced layout.
- Artibo templates - If you opt for a professionally designed Artibo template, you can still take advantage of the SMART function. Once you upload your photos, SMART will organise them within the chosen template, analysing colours and composition to create a cohesive and aesthetically pleasing arrangement.
3. Uploading Photos to Your Project
Regardless of the chosen mode, it's time to upload your photos to the editor. You can do this in several ways:
- From your computer - Upload photos directly from your hard drive or an external storage device.
- From previous orders - If you have created projects in Artibo before, you can import photos from your past designs.
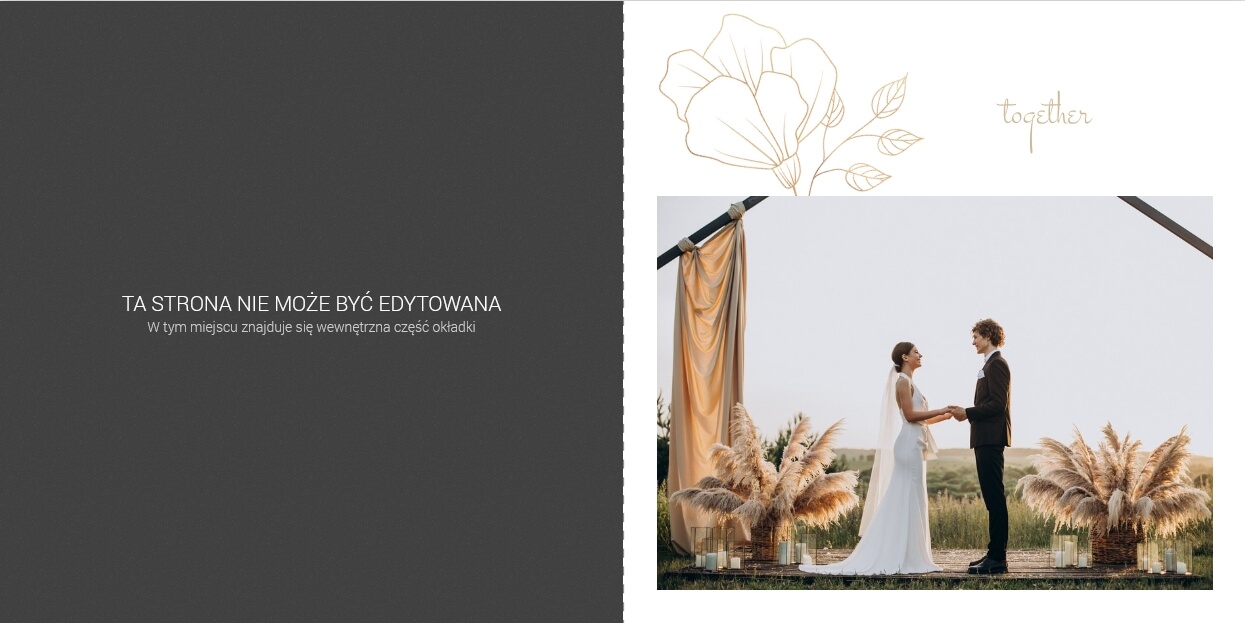
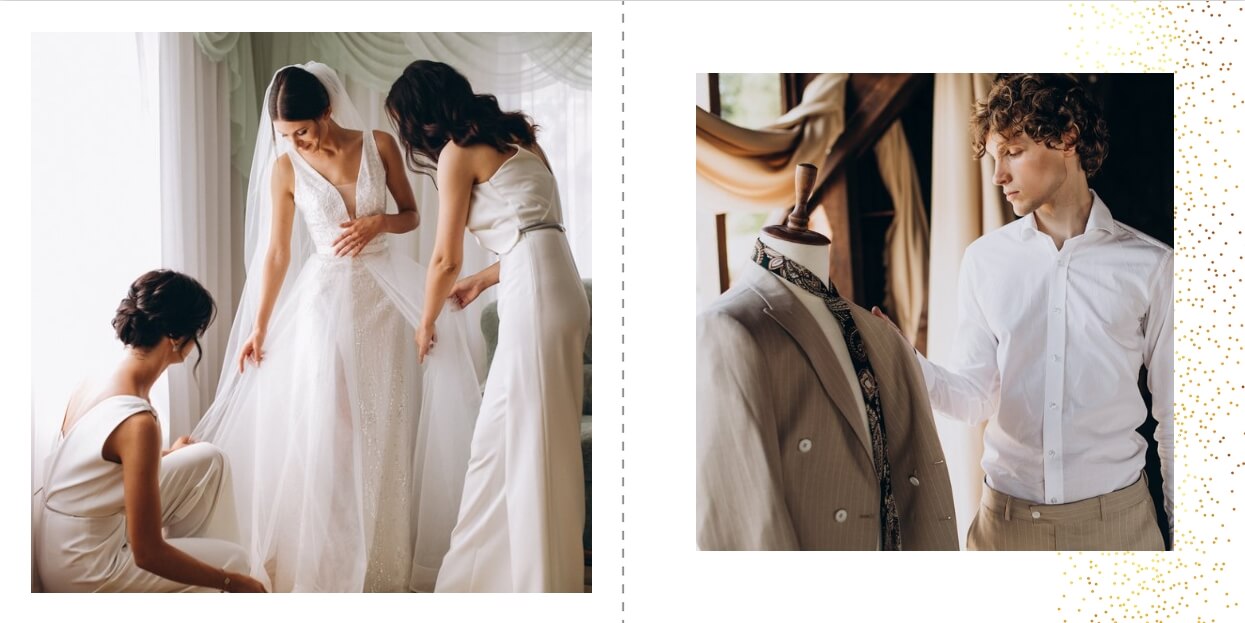
4. Designing or customising a template
This is the most exciting stage, where you can fully personalise your photo book and experiment with different layouts.
- Background Colour & Decorations - Adjust the background colour to complement the mood of your photos. You can also add masks, clipart, and filters to enhance the overall style.
- Page Layouts & "Shuffle" Feature - The editor offers various layouts that you can freely modify. Use the Shuffle feature to quickly reorganise the page arrangement and gain a fresh perspective on your design.
- Editing Spreads - Add, remove, duplicate, and reorder spreads to create a dynamic flow that aligns with your vision.
- Respect Bleeds & Margins - This is crucial to prevent losing important elements during printing. Ensure that text and key parts of images are not too close to the edges to maintain high print quality.
5. Adding and formatting text
The Artibo editor allows you to add text for captions, quotes, or chapter titles, giving your project a personal touch.
- Text Formatting - Customise the font, size, colour, and style to make your design truly unique.
- Text Toolbar - Artibo provides a convenient text toolbar that lets you apply the same formatting across multiple pages with just one click, saving you time on repetitive adjustments.
- Precise Positioning - If you want text to appear in the exact same spot on multiple pages, use Ctrl+C and Ctrl+V to copy and paste it. The text will be placed in the identical position, ensuring a consistent visual flow throughout your photo book.

6. Reviewing your project & finalising your order
Once you’ve finished designing, go to the preview mode to ensure everything looks just as you envisioned.
- Project Preview - Review the entire book, checking that images and text are correctly positioned and that colours align with your design.
- Final Proofing - Double-check for typos or errors. Ensure that all images are properly cropped and positioned for the best visual effect.
When everything is set, proceed to finalise your order and confirm the purchase.
All set! Enjoy your photo book!
After confirming and paying for your order, all that’s left is to wait for delivery. With the Artibo editor, you can create a photo book that perfectly reflects your vision-crafted with attention to detail and high-quality printing. It’s a beautiful and lasting way to preserve memories that you can revisit for years to come.
Summary: The Artibo editor offers full flexibility and intuitive tools to help you create stunning photo books. With the SMART function, text toolbar, and a rich library of templates, designing becomes effortless and enjoyable.